Connect to Okahu Cloud
Okahu Cloud provides managed trace storage with built-in evaluations, narrative graph views, and workflow management.
Prerequisites
- An Okahu Cloud account at portal.okahu.co
- An API key generated from the portal Settings page (or use GitHub auto-provisioning)
Two Ways to Connect
Option A: GitHub Authentication (Recommended)
Click "Connect to Okahu Cloud" in the TRACES welcome view or the HOME section. The extension handles everything automatically:
- VS Code opens the GitHub OAuth consent dialog
- You approve access (minimal scope:
user:email) - The extension resolves your tenant (or creates one for first-time users)
- An API key is auto-generated and stored securely -- you never need to copy/paste one
The auto-generated key is named vscode-key-{timestamp} and is stored in:
- OS Keychain via VS Code SecretStorage (for extension use)
- .env.monocle file in your workspace root as OKAHU_API_KEY=... (for local Monocle SDK use)
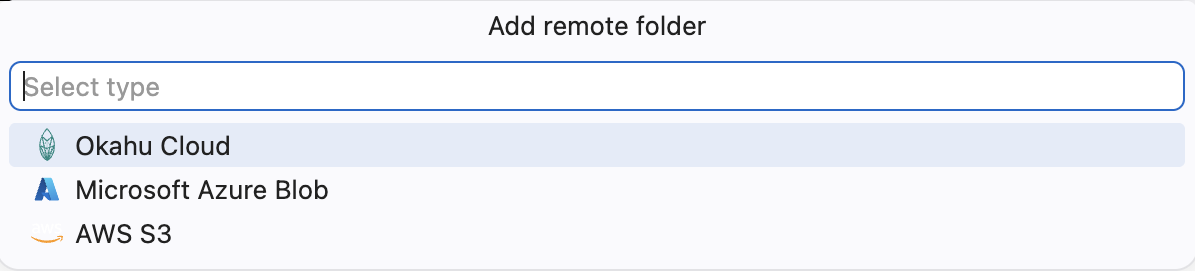
Option B: Manual API Key Entry (Add Cloud Flow)
- Click the Add Cloud button (+ cloud icon) in the TRACES toolbar
- Select Okahu Cloud from the dropdown
Then follow the wizard:
Setup Steps
Step 1: Enter API Key
A password-masked input box appears. Paste your API key from the portal.
To get an API key: 1. Go to portal.okahu.co > Settings 2. Click Generate 3. Enter a name for the key 4. Copy the key (it is shown only once)
Step 2: Tenant Validation
The extension validates your API key against the Okahu backend: - On success: your tenant ID and name are resolved automatically - On 401/403: you are prompted to re-enter the key
Step 3: Select Workflows
A multi-select picker shows all workflows in your tenant. Select one or more workflows to monitor.
If you already have workflows connected, they are marked with a checkmark indicator.
Step 4: Select Fact Type
Choose what level of trace data to work with:
| Fact Type | Description |
|---|---|
| Traces | Root trace spans (default) |
| Inferences | Individual LLM inference calls |
| Web Requests | HTTP request spans |
This affects what data appears in the TRACES view and what evaluations can target.
Step 5: Set Criteria (Time Range / Filters)
Configure which traces to fetch:
Time range or count: - Specific Trace ID - Most recent: 10, 20, or 30 traces - Last 12 hours, 24 hours, 2 days, 7 days, 15 days, or 1 month
Trace filters (for trace fact type only): - All traces - Containing spans: Agentic or Inferences - With error / Without error
Step 6: Done
The extension saves your configuration and begins fetching traces. Your Okahu Cloud folder appears in the TRACES sidebar with the selected workflows underneath.
Editing Your Connection
After initial setup, you can modify your configuration:
- Edit workflows: Click the edit icon next to your Okahu Cloud folder in the TRACES sidebar
- Change criteria/filters: Click the filter icon next to a workflow
- Refresh traces: Click the refresh icon on any workflow or the global refresh button
Features Only Available with Okahu Cloud
| Feature | Local | AWS S3 | Azure Blob | Okahu Cloud |
|---|---|---|---|---|
| Tree View | Yes | Yes | Yes | Yes |
| Gantt View | Yes | Yes | Yes | Yes |
| Narrative Graph | No | No | No | Yes |
| Evaluations | No | No | No | Yes |
| Eval Badges | No | No | No | Yes |